
 |
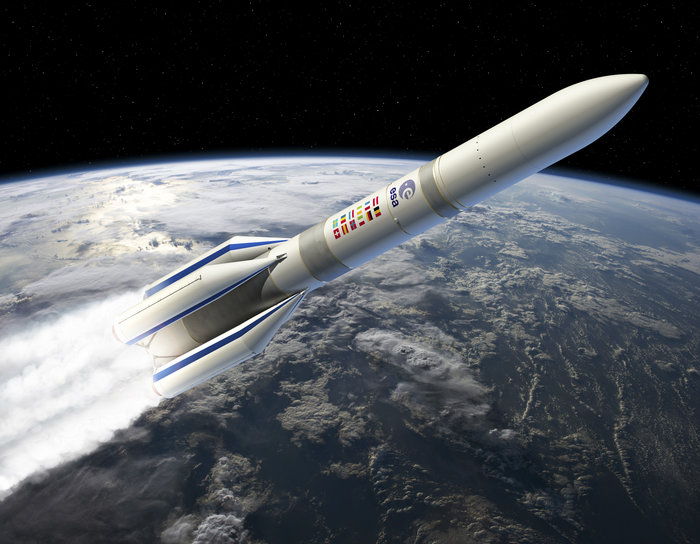
| Artist's impression of the Ariane 6. I don't think they'll leave those sporty stripes on the boosters. It surely will save a couple of kilos in weight, leaving them off. Unless they are of course go-faster stripes. (Picture: © esa) |
But Arianespace just wants it to compete with SpaceX. And that race they will not win, I am afraid. It is perhaps a good rocket, proven technology and all, it might perhaps have a good reputation. But it won’t ever be as cheap as a Falcon9. (And although SpaceX have had a major setback with that F9 blowing up on the pad the other day, I think they'll recover reasonably soon. I really hope they will..)
 |
| On the left, Ariane 5 with the two previous incarnations of the Ariane 6. Firstly, the PPH version, a solid rocket first stage with added boosters of the same type and a liquid second stage. Secondly, the newer Airbus-Safran proposed liquid fueled varsion with two and four boosters. This variant eventually has evolved into the definitive version on the first picture. (picture: © esa) |
The Ariane 6 has been going through a couple of big transformations. There is one model available of the Ariane 6 at Aries Space Models, by Erik te Groen. But that one is of the previous design configuration. These A62's and A64's had their booster cones like little stubby pencils pointing up into the sky, while the newer, definitive version has its booster cones pointing towards the hull, like the Ariane 5 has. Further has the fairing been redesigned to be flush with the fuselage. So that is why I now am kind of scratch-building it.
Using the measurements of the Ariane 5, which has the same diameter, I used a couple of pictures of the A6 launcher to make the different parts of the hull. The engine compartment is very different form the Ariane 5 and will need special attention. I'll make my own version of the Vega first stage including engines and all for the booster rockets and I’ll use my own designed Ariane 5 fairing on top.
But I won’t make it into a 100% realistic model, because it still has to be built and presumably is still subject of change. I intend to make it look like a 'show model'. Nice and shiny white contrasting with grey. So super gloss white photo paper combined with the dark grey fuel tank insulation parts. No mission logos, no flags of ESA member states and no ESA logo. And also no separable stages. So that makes this one a relatively easy build. But nevertheless, like I already said, looking quite awesome.
Enough ranting. Here goes the build report:

 |
| Embossing the thermal isolation tiles in the paper. Isn't it photogenic? |
 |
| One and a half hours of work. I of course did this with an actual embossing needle, not the Xacto knife pictured next to it, of course. That's just for scale. |

The pictures demanded a gold/brass coloured strip between the different stage parts, but I went for matte aluminium because it fitted the grey and white colour scheme much better. And it is a *show model*. So I think it is allowed to make it look a little unrealistic.
 |
| Both stages and rolled-up fairing part. The second stage is upside down. The fairing goes over the large yellow part. |
 |
| A nice long cable run covers up most of the seam on the lower part of the rocket. It is going to be a biggie! Here you also can see the fairing and nose cone in place. In the very top of the fairing I used a bead to close it up. |
 |
| The gloss next to the thin strip of the fairing separation line is confusing here. But it is gloss, not a wide strip. |
The engine also was relatively basic. Three parts, two outside and one inside. I covered the seam with a small strip of silver tape for decoration. The engine section had the engine a little hidden inside and is officially a bit concave. I kept it straight and just used a small tapered ring around the engine bell. After setting I glued the engine section on to the rest of the rocket. More pictures of that part, next time.
Then the boosters. I already have one finished. Using the measurements available online I tried to replicate the first stage of the Vega and made a long cone. The transition from straight to pointed inward was copied from the Ariane 5 model. Three more boosters will come in the coming days. The attachment will be simple but hopefully will look slick.
 |
| Very basic boosters. Just a cone, a strip over the seam on the front facing outwards, made of photo frame card, a little metallic line over the seam between the straight part and the transition to the inward pointing cone. |
 |
| And this is how it will fit on to the rocket. Of course, the exhaust cones are higher up than the central rocket engine. So it cannot balance on the four outside boosters. Sigh. I will have to invent a kind of tiny table it can stand on. |
But all that is tomorrowland. And this it it for today. Next time more.
Thanks for passing by!
—PK
No comments:
Post a Comment
attention spammers: all posts are moderated before placing.
you won't get through. you lose.